
If you’ve ever done a push up or plank and had someone tell you “bring your hips up, don’t round your back, don’t arch your low back”, maybe it’s time to put some work into stabilizing your core and hips. How? Strengthen the necessary areas and then stability is your reward. After all, having poor alignment during a push up or plank is one thing, but what happens when your alignment is all wrong during an attempt at your next heavy lift? Ouch!
Before you read on, make a mental note for yourself: The central or most important part of something. This is one definition for core, so from now on don’t think about your core as just your abs. Think of it as everything from your chest to hips in the front and shoulder blades to hips in the back.
LET’S GET TO IT
Hip and core stability, as well as a healthy lower back are crucial both in and out of a fitness setting. Whether you’re looking to lift three times your body weight, spend all day working on your feet, sit in chair at your desk for hours, or want to prevent falling on uneven or slippery surfaces. They are crucial to proper, safe execution of almost every exercise. There is an endless list of exercises to refer to when looking to improve your hip/core strength and stability, but for now let’s narrow it down to a handful.
These 3 exercises (specifically body weight exercises) will help you step up your performance and feel assured that you’re keeping yourself safe during training and in everyday life. We’ll go over them one at a time over the next few instalments of my posts, so keep checking back.
- Prone Kneeling Hip Extension
- Shoulder taps
- Bear Crawls
1.THE PRONE KNEELING HIP EXTENSION (AKA: Get into a 4 point kneel and stick your leg out behind you)
This exercise will do subtle but wonderful things. It strengthens the hip extensors, the low back and abdominals, as well as, stretching the hip flexors for those who are really tight in that area. In the long run, this movement can help you progress and improve in a number of different exercises. The almighty hip hinge for example, which so many exercises depend on (Deadlifts, RDLs, Kettle Bell Swings, etc.), demands excellent stability and control throughout the hips, low back and core. If you’re just starting out, or have suffered from low back pain, definitely throw these in your program. For those already training regularly, throw them in at the end of a session or on a light/accessory day for maintenance.
HOW TO DO IT
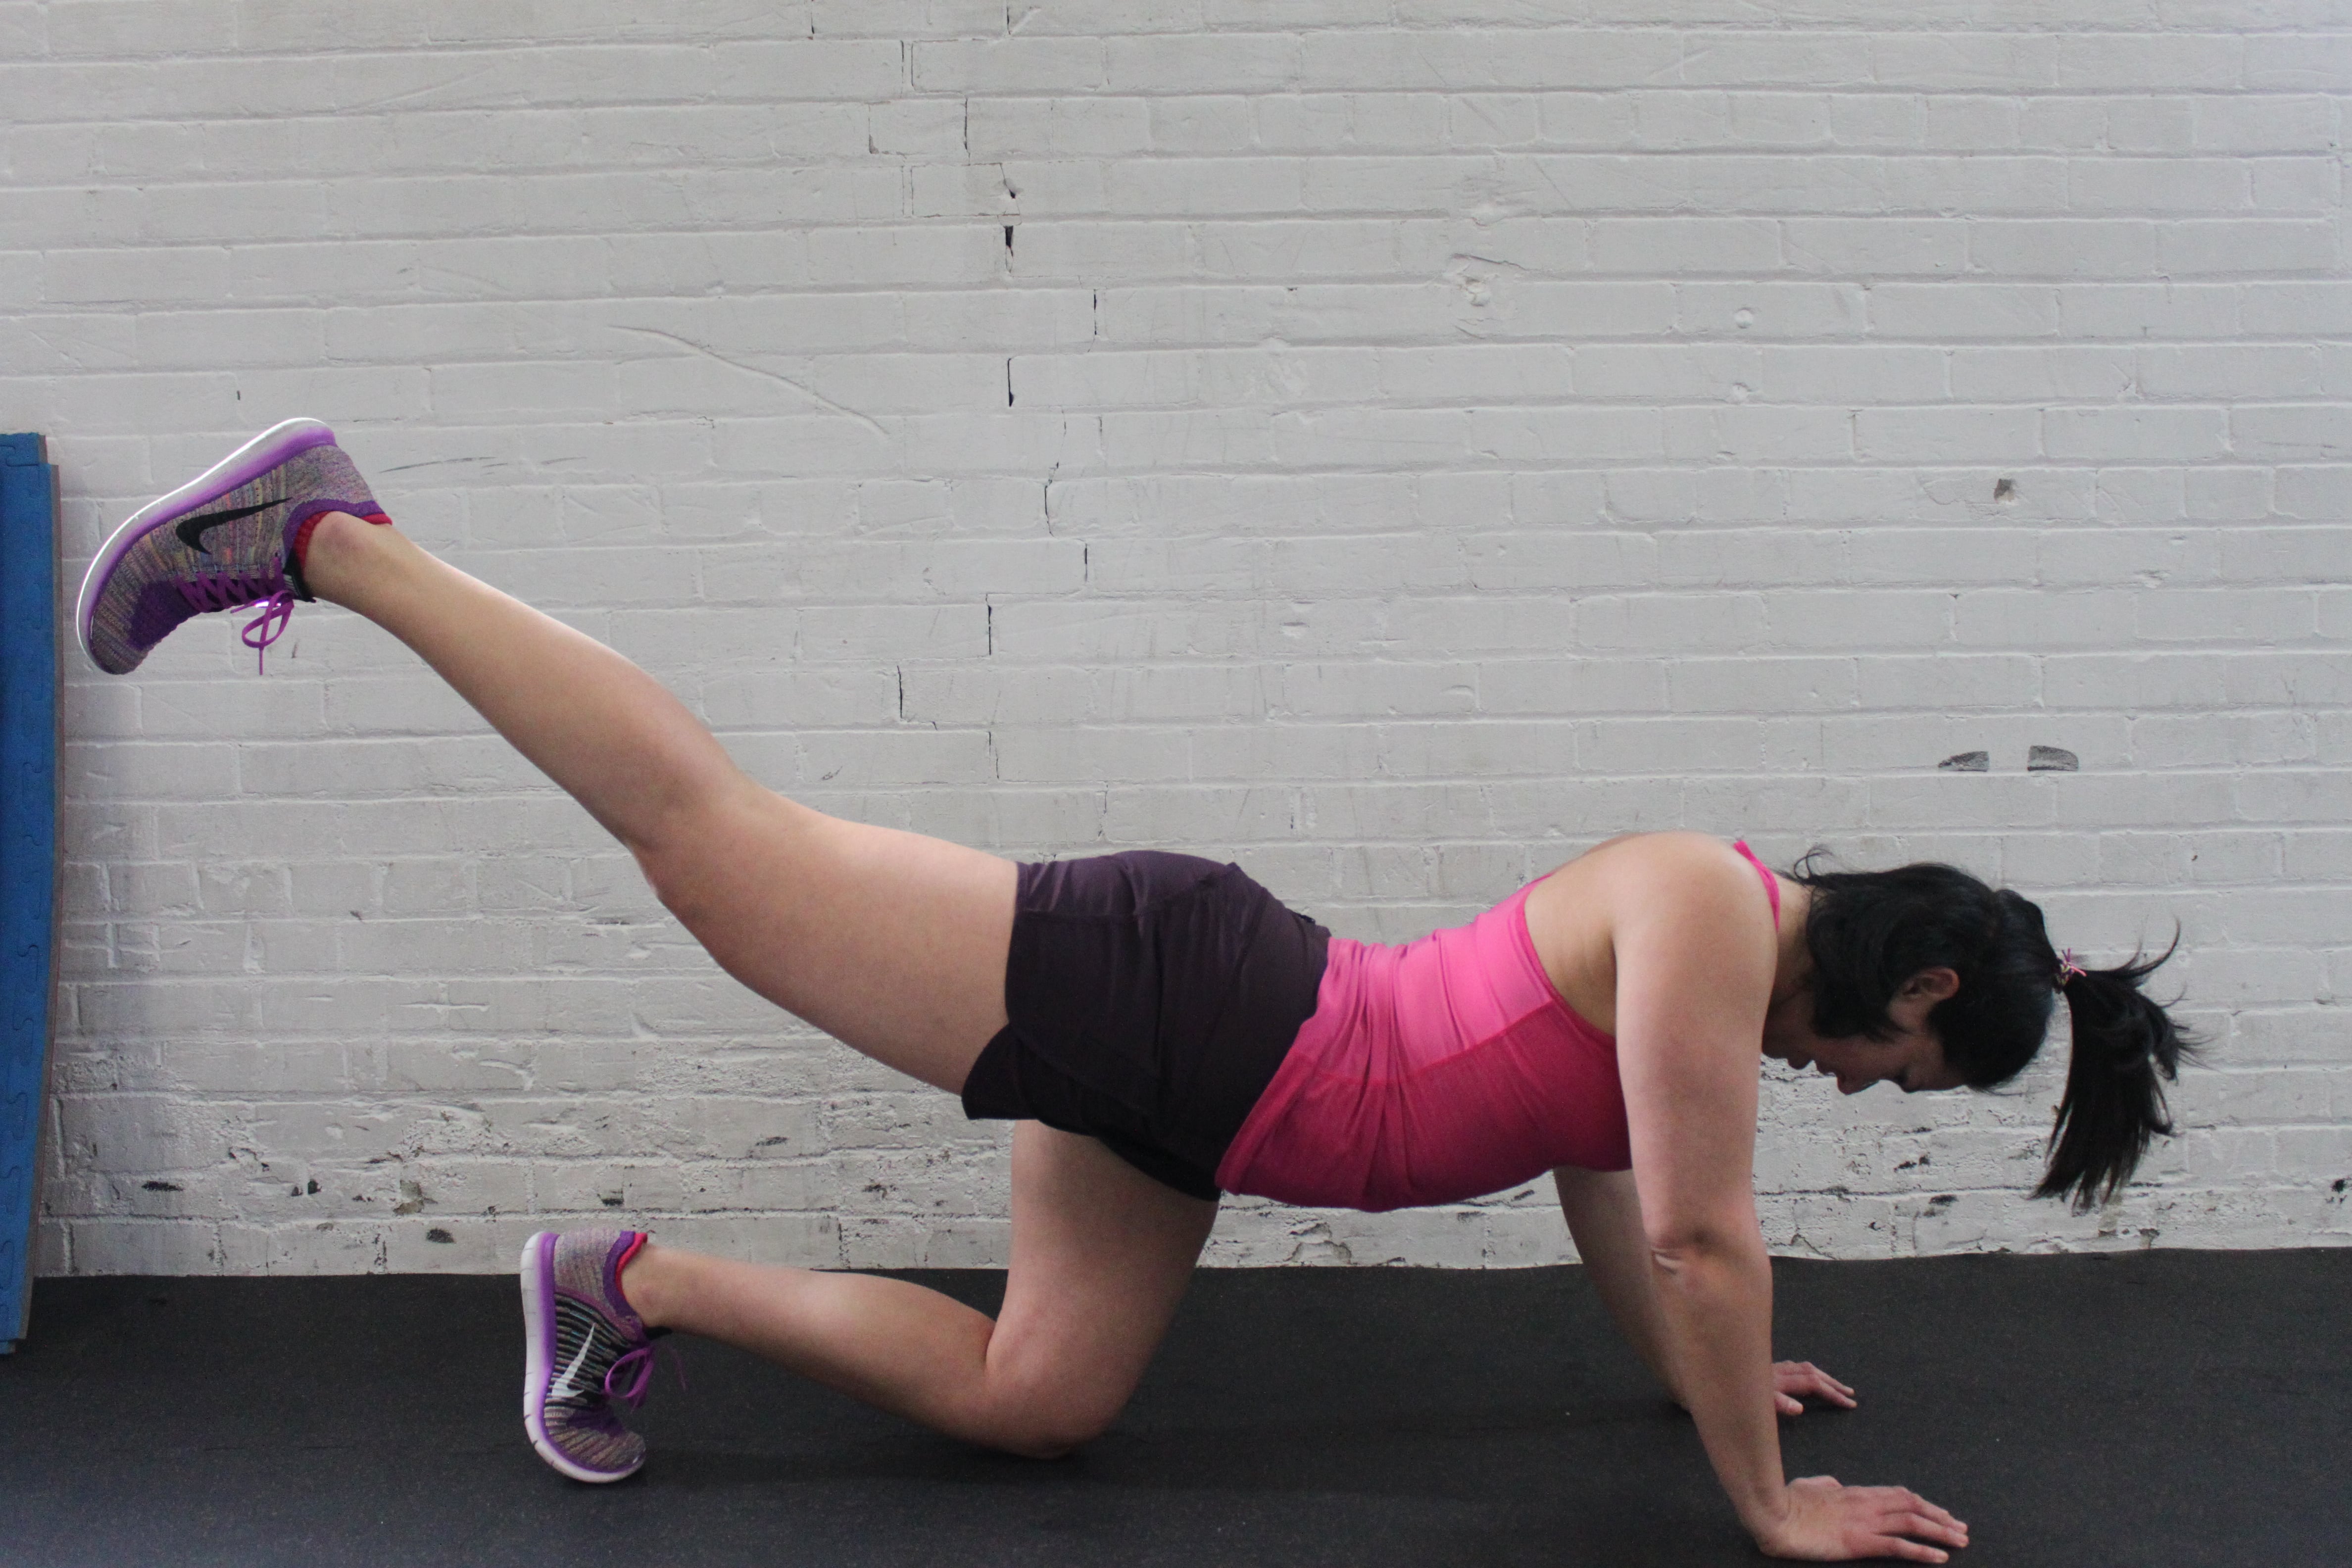
A. Over extending, excessive curve back – Avoid this
B. Good extension, neutral alignment in spine – Aim for this
Start on your hands and knees, aligning yourself so that your wrists are directly under your shoulders and your knees are directly under the hips. Ensure that your pelvis is tilted correctly so that you have a neutral spine. For those of us who spend a lot of our day at a desk, this will mostly likely be an anterior (forward) pelvic tilt. From here you want to brace your core and slowly extend one leg straight out behind you in a controlled motion. Fully extend at the hip so your glutes (your butt) are contracted. Careful though – you do not want to go to the point where your back ends up in hyper extension. Aim for a straight line going from your head (which should be looking down at the ground) to your heels. Hold it for a few seconds and return to the starting position. Repeat this with the other leg. Remember, the idea is that you’re not really moving anywhere except for your hip and knee of the extended leg.
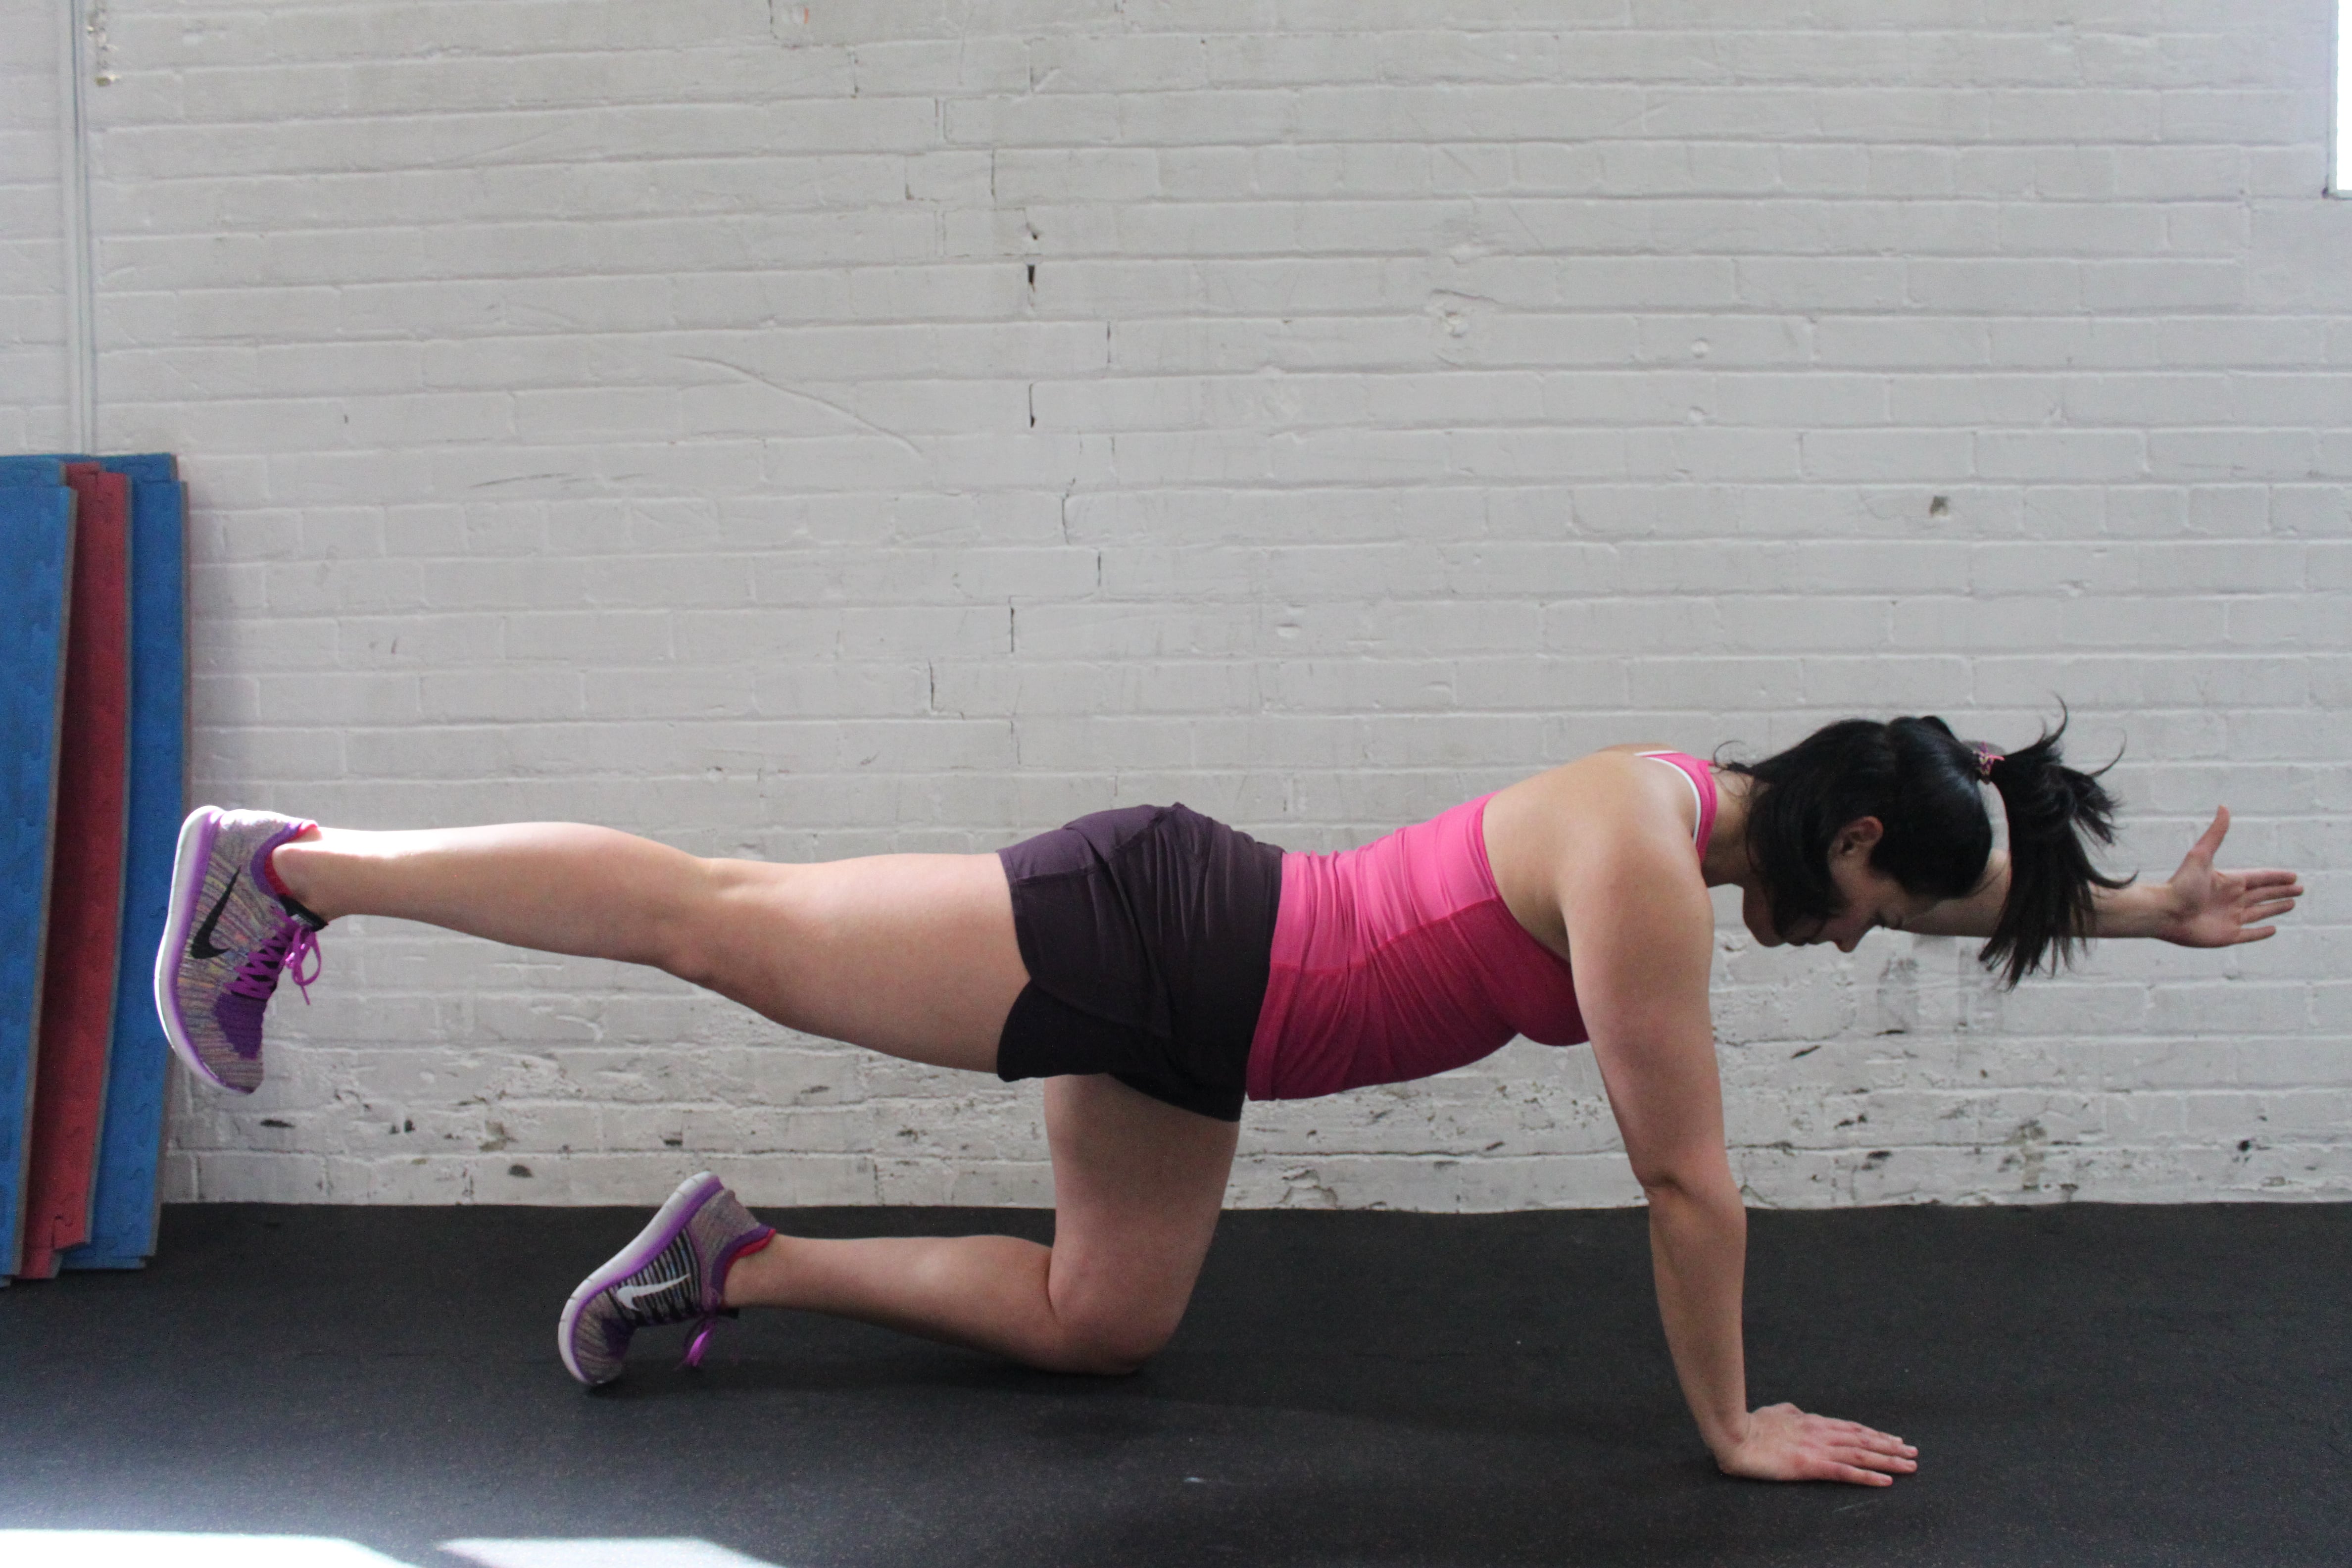
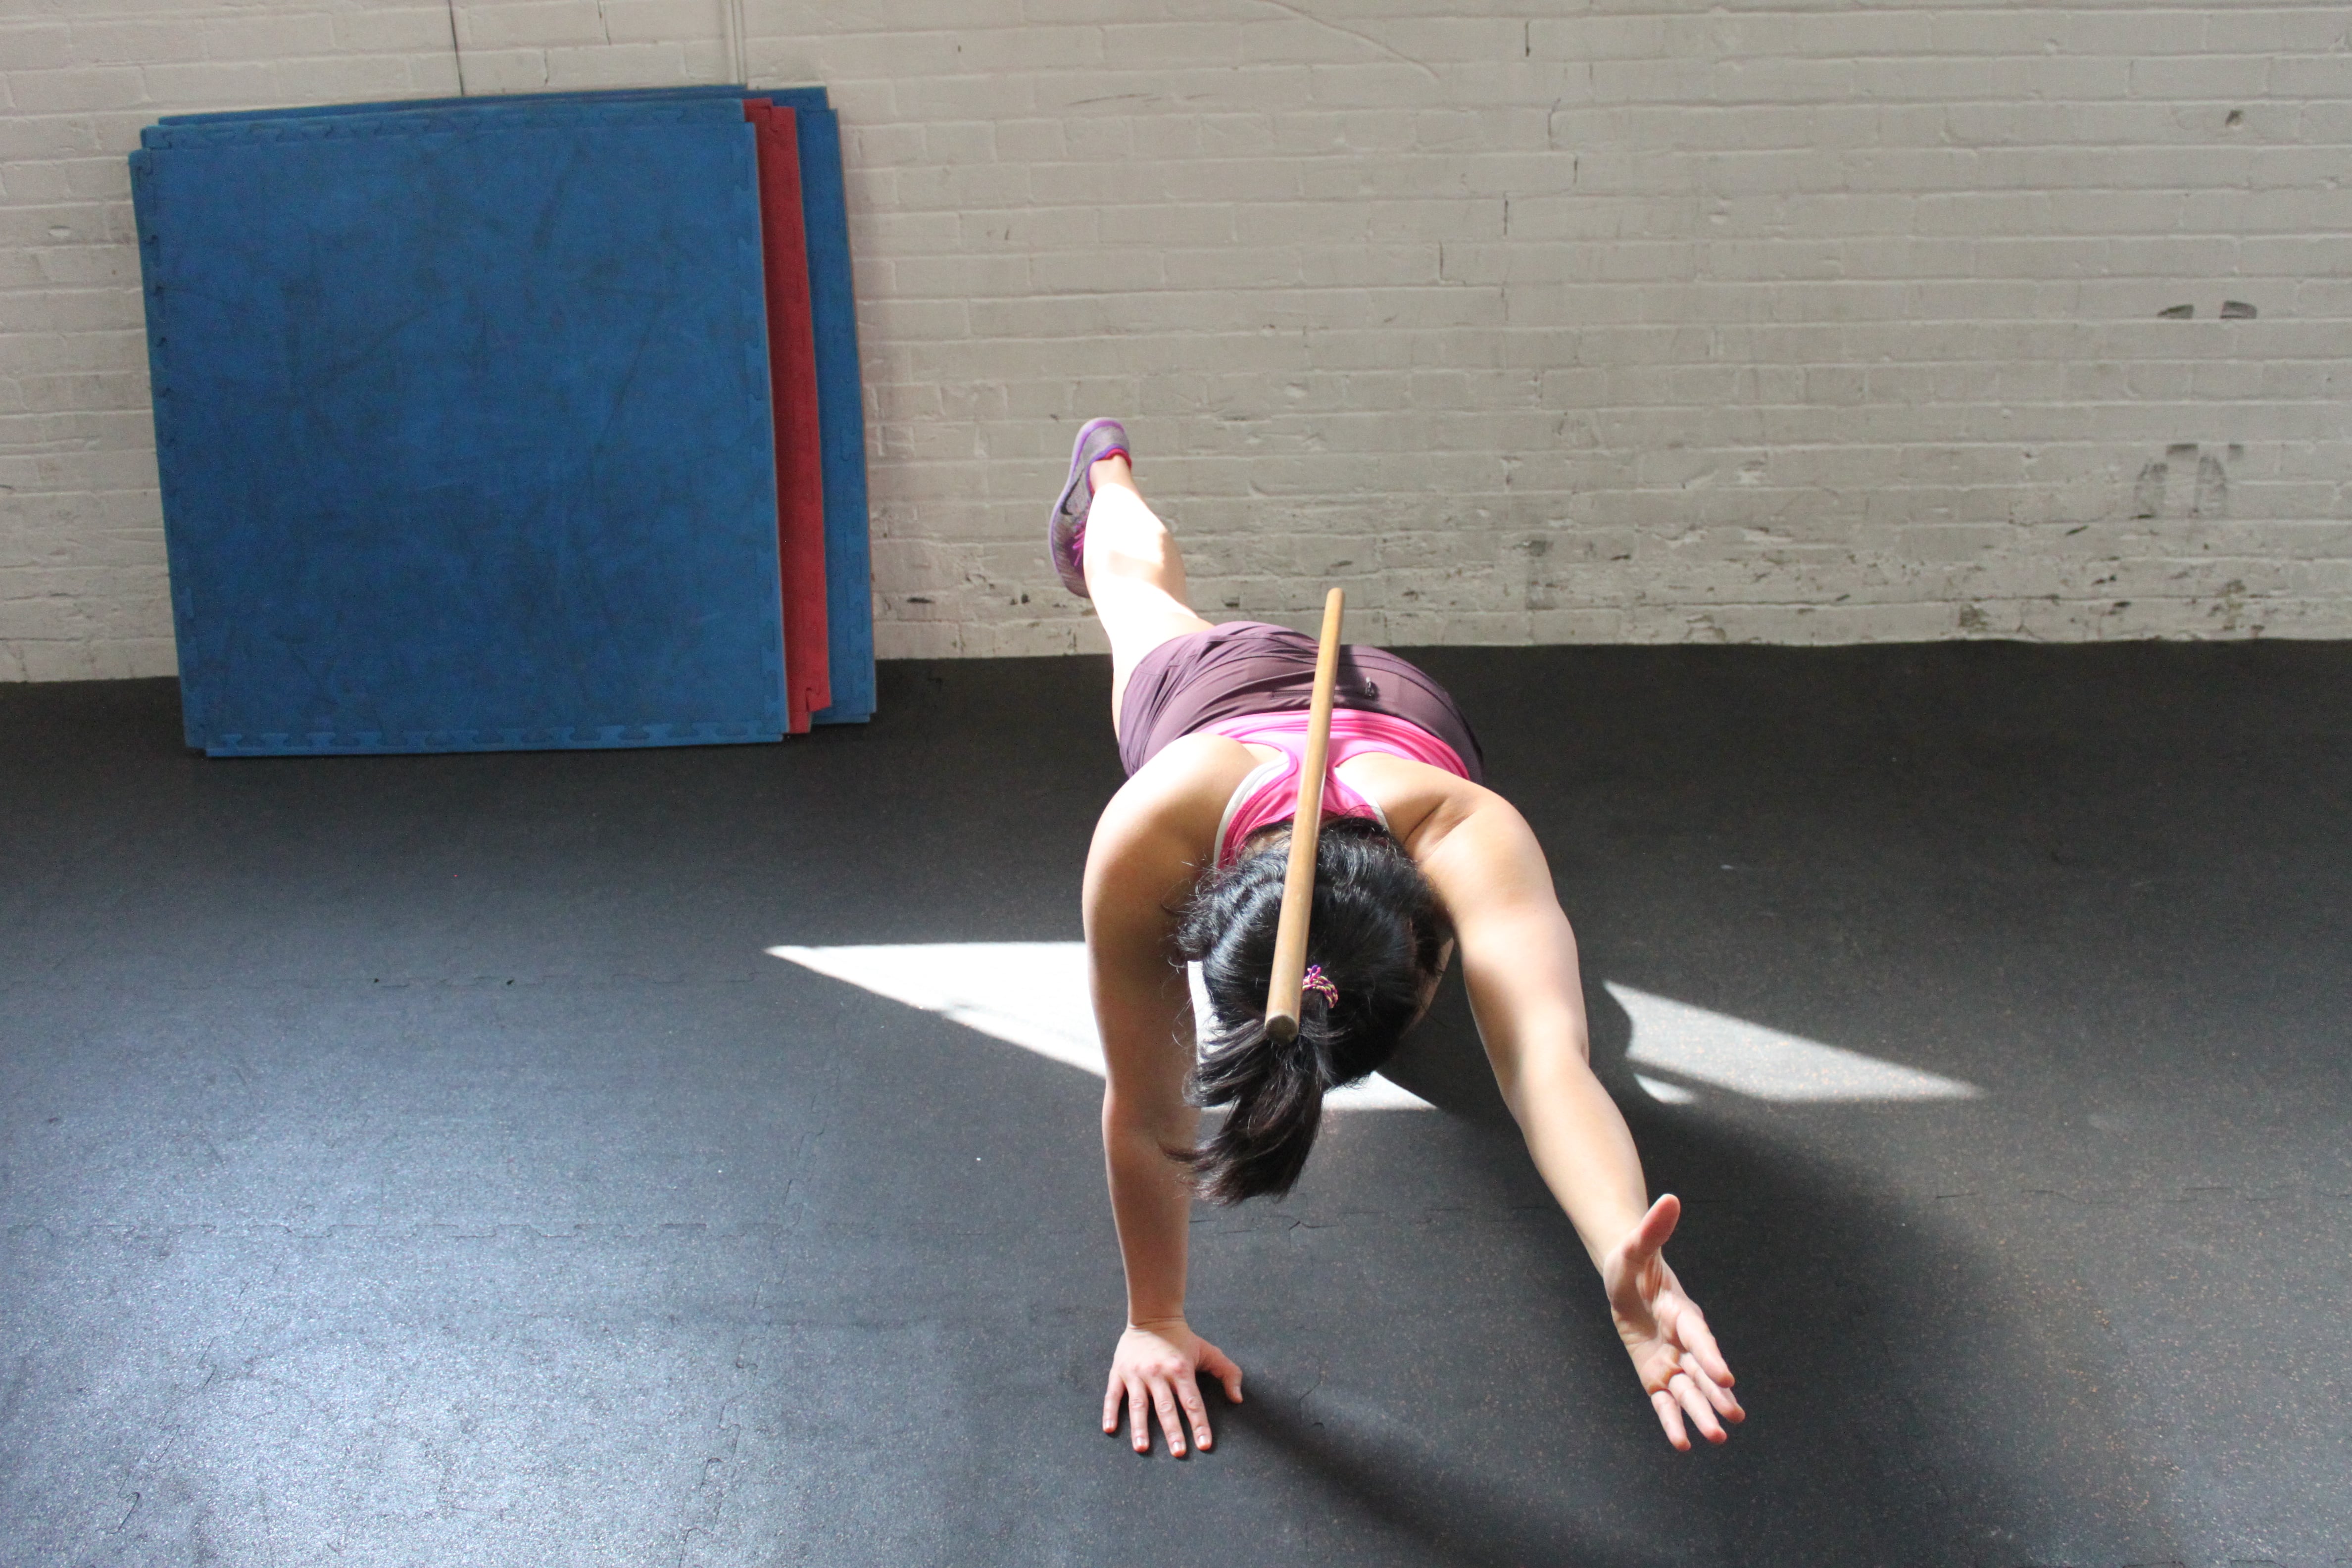
To take it up a notch, try out the progression called the Bird Dog. Repeat the same as above except while extending the leg back you’ll also extend the opposite arm. You’ll end up being on one knee and one hand. You’ve just taken one of your pillars of support out of from underneath you. A good cue to remember for positioning is to pretend you have a glass of water on your lower back. Keep everything engaged and your hips levelled and you won’t end up spilling any of that water. Additionally, you can put a dowel on your back to act as a level. If it’s rolling off, you’ve got some work to do.
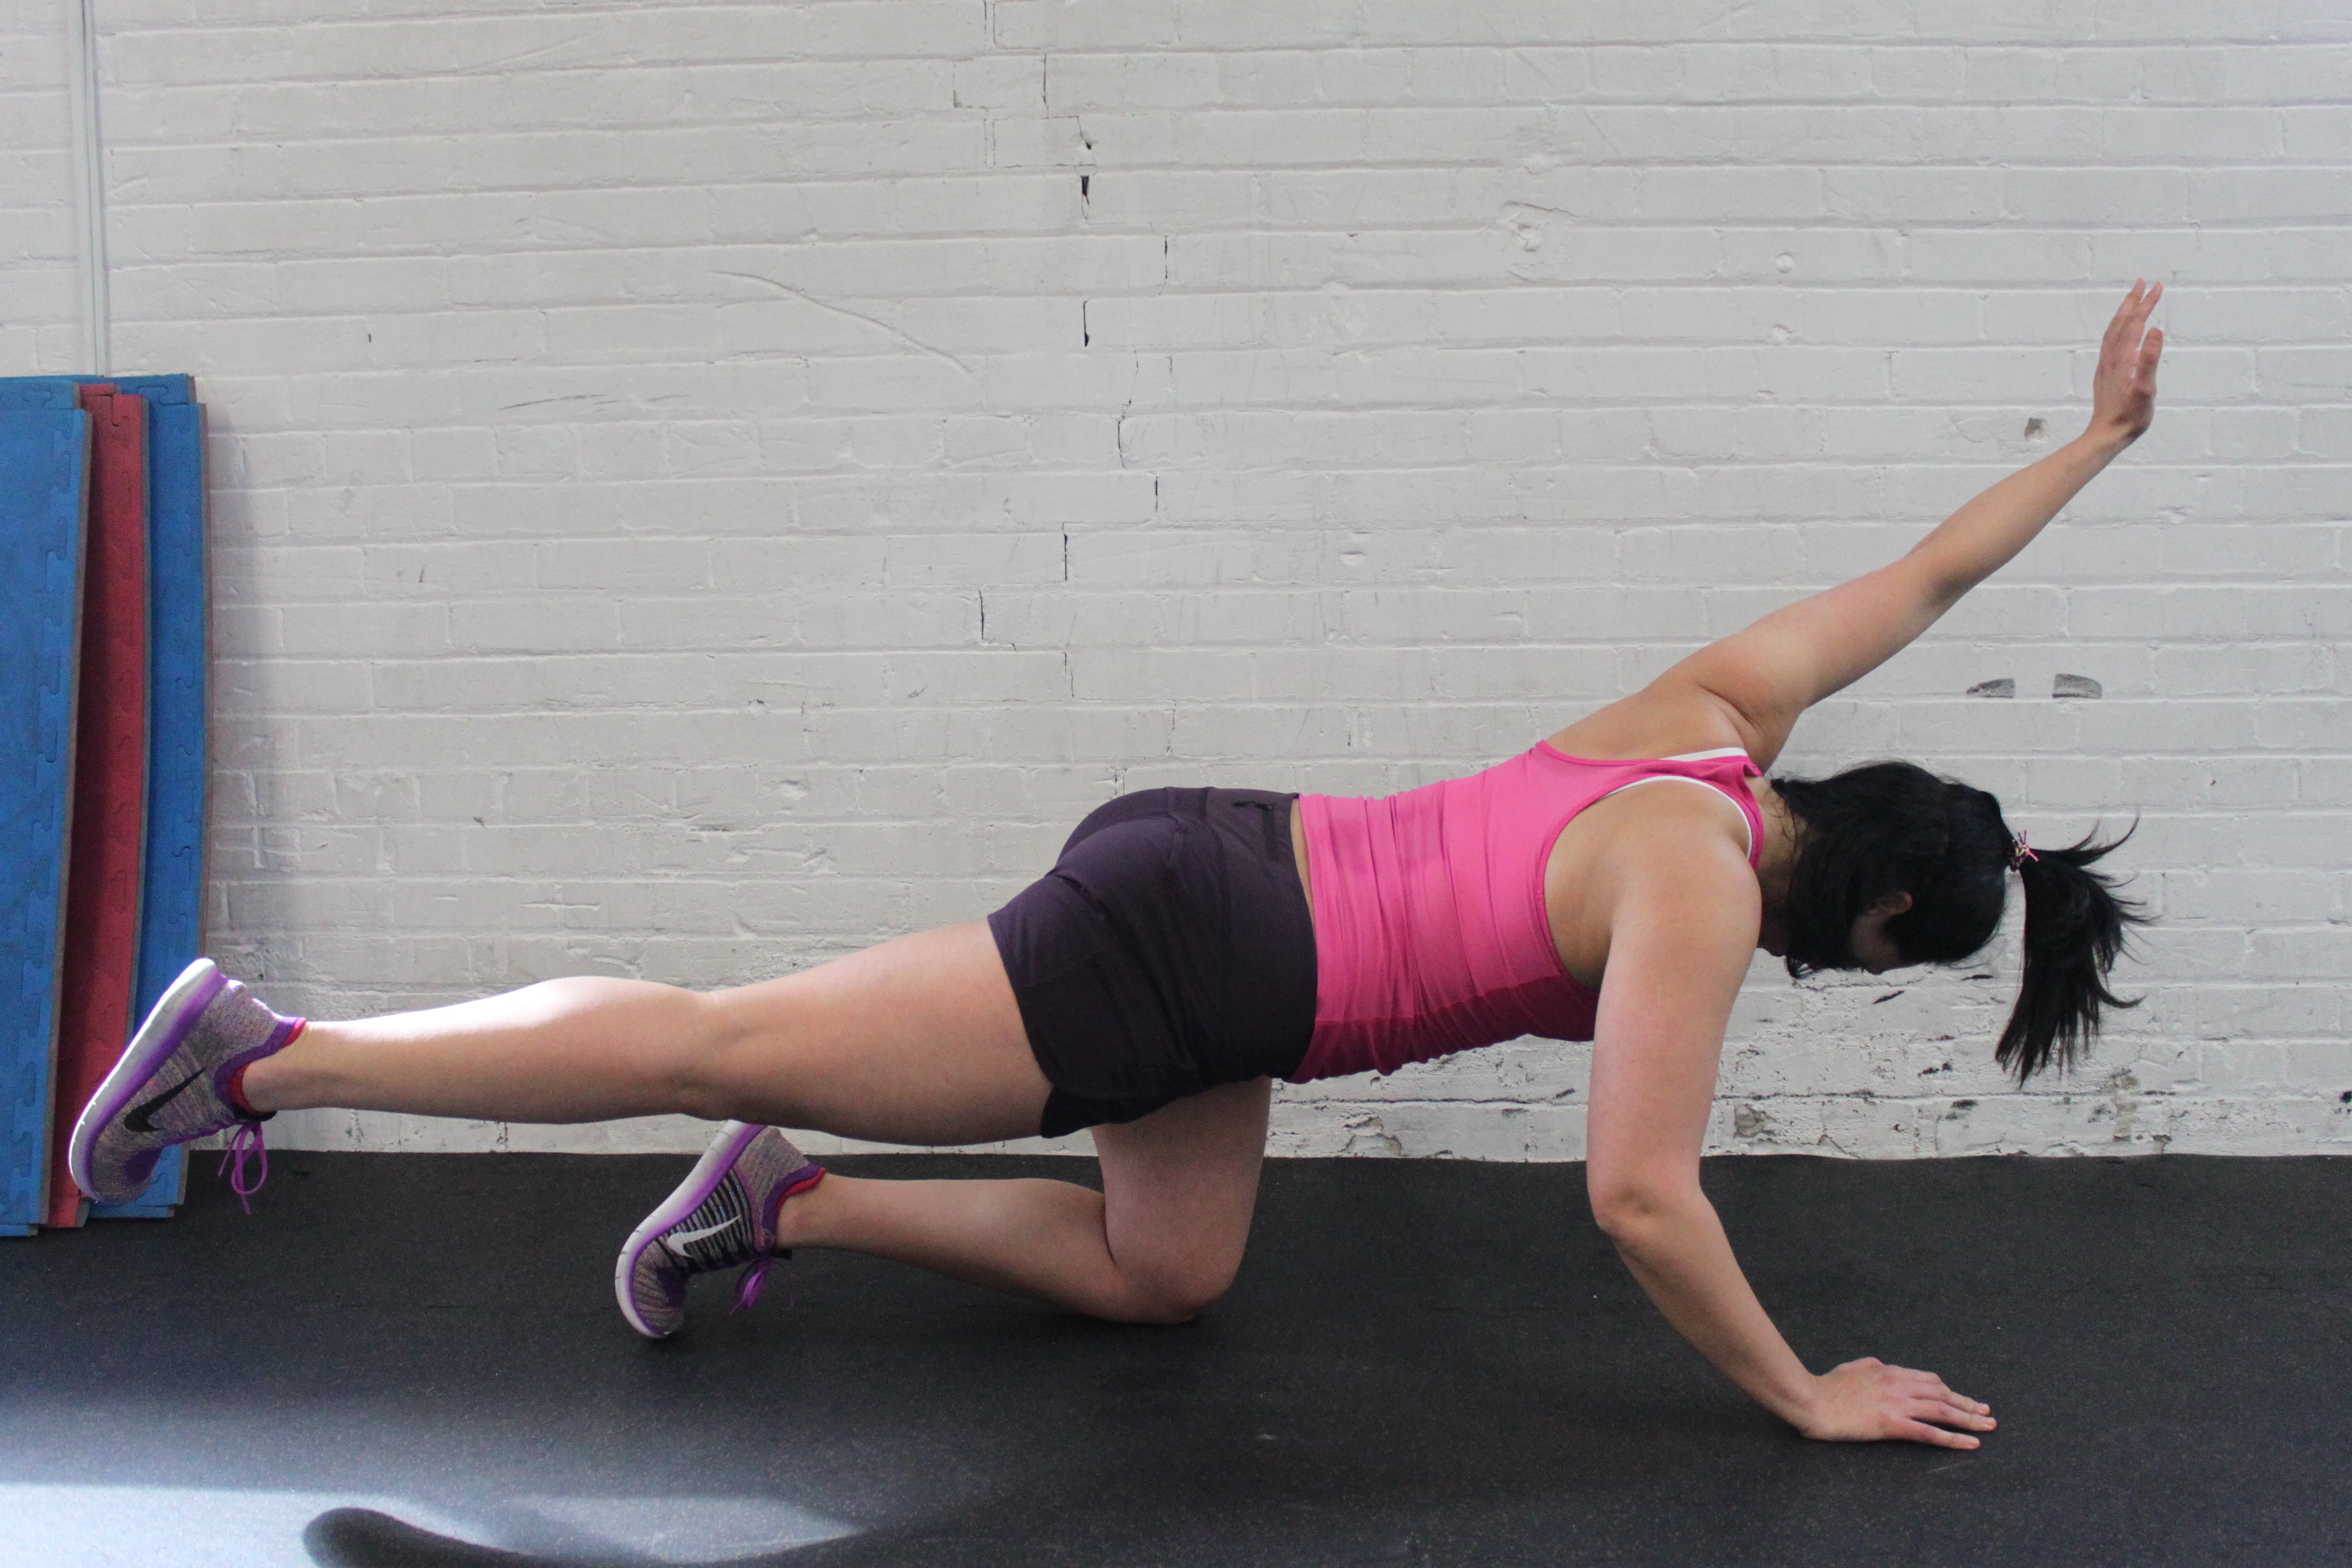
A. Over extended and twist – Avoid this
B. Good neutral alignment – Aim for this
C. Try with a dowel to give yourself a better sense of position
ONE LAST NOTE
Take into consideration that you do have a bit of a natural curve in your lower back. This, plus well developed glute muscles may have you thinking you’re hyper extending but don’t worry. Neutral spine doesn’t always mean completely straight.
Throw this is to your program/routine and let us know how it helps. Remember to check back in a couple weeks as we move on to shoulder taps.